Using events to display popup information for a text link
HTML allows to create interactive web-pages by using JavaScript events. HTML can process events from keyboard and mouse, and also some specific events, for example, occurring where form's data was changed. Many objects in WYSIWYG Web Builder have built-in support for event handlers like forms, buttons, text fields, images, shapes and others. For more details about the available type of events please consult the help or manual of WYSIWYG Web Builder.
In this tutorial we'll explain how to display popup information for a specific link.
Note that the same instructions can be used for events in other objects.
Move the mouse cursor over this text for an example.
In this tutorial we'll explain how to display popup information for a specific link.
Note that the same instructions can be used for events in other objects.
Move the mouse cursor over this text for an example.
Move the mouse away from the text to hide this message...
Step 1
Insert an text object and type some text.
Step 2
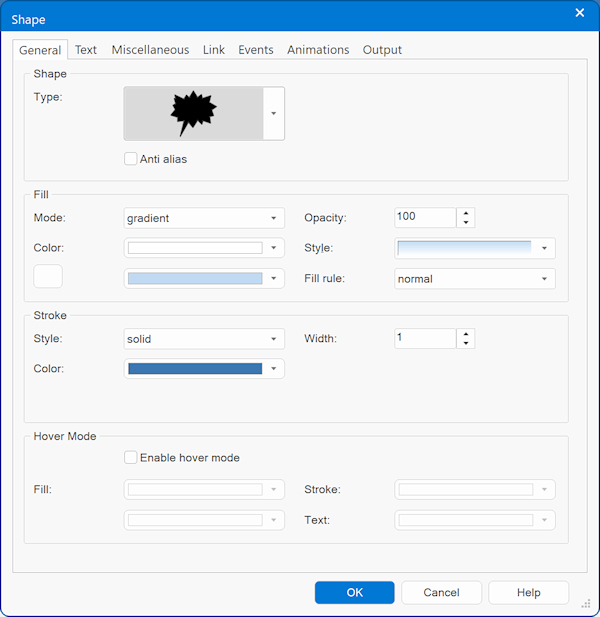
Insert a shape. In the Shape's properties select Type: Talk Bubble.
Change the style of the talk bubble if you wish.
Insert an text object and type some text.
Step 2
Insert a shape. In the Shape's properties select Type: Talk Bubble.
Change the style of the talk bubble if you wish.
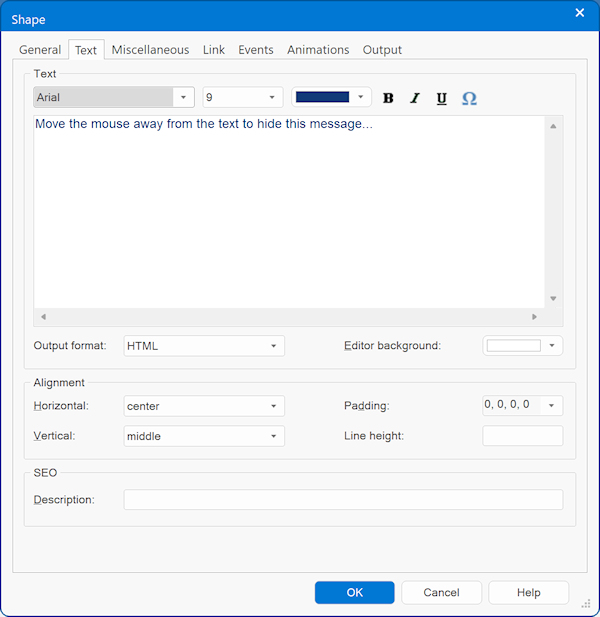
Step 3
Click the 'Text' tab and type some text that will be displayed inside the talk bubble.
Click the 'Text' tab and type some text that will be displayed inside the talk bubble.
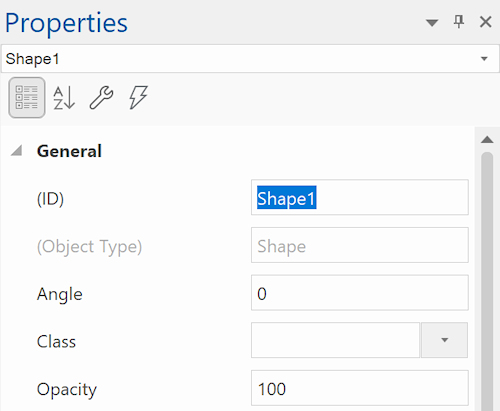
Step 4
Take note of the ID for the Shape. If it's the first shape on the page then it will probably be called 'Shape1'
Take note of the ID for the Shape. If it's the first shape on the page then it will probably be called 'Shape1'
Step 5
Move the shape to the position where you wish the display the talk bubble later when the users moves the mouse cursor over the text.
Move the shape to the position where you wish the display the talk bubble later when the users moves the mouse cursor over the text.
Step 6
Open the Object Manager (Menu->View->Object Manager)
In the Object Manager you will see a list of all objects in the current page. Find the Shape object 'Shape1' and uncheck the 'visible' box.
The object will now no longer be visible.
Open the Object Manager (Menu->View->Object Manager)
In the Object Manager you will see a list of all objects in the current page. Find the Shape object 'Shape1' and uncheck the 'visible' box.
The object will now no longer be visible.
Step 7
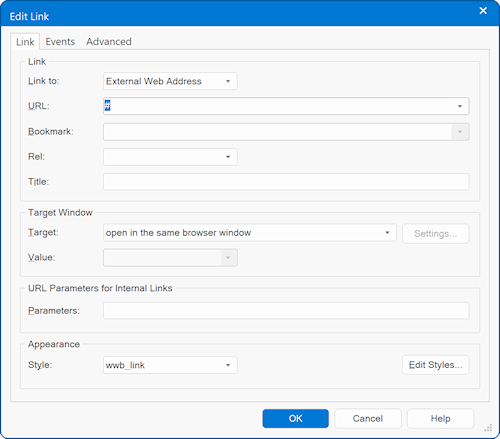
Now we're gong to create the text link, so when the user moves the mouse over the text the Shape will become visible:
Highlight the text and open the link properties (Menu->Insert->Link or Ctrl+K)).
Set the URL to '#' (or select any other link, '#' will link to nothing).
Now we're gong to create the text link, so when the user moves the mouse over the text the Shape will become visible:
Highlight the text and open the link properties (Menu->Insert->Link or Ctrl+K)).
Set the URL to '#' (or select any other link, '#' will link to nothing).
Click the 'Events' tab and insert an Event (click the Add button):
Event: onmouseover
Action: Show
Target: Shape1
Event: onmouseover
Action: Show
Target: Shape1
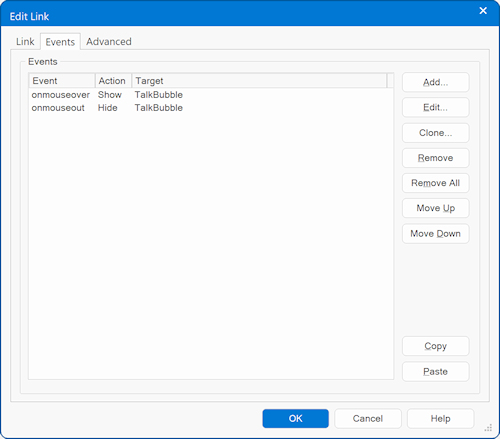
Now if the user moves the mouse away from the text we want to hide the Shape again, so let's add another event:
Event: onmouseout
Action: Hide
Target: Shape1
Tip:
This same method can also be used to display (and hide) images, layers or any other object!
Event: onmouseout
Action: Hide
Target: Shape1
Tip:
This same method can also be used to display (and hide) images, layers or any other object!