Using the Style Manager
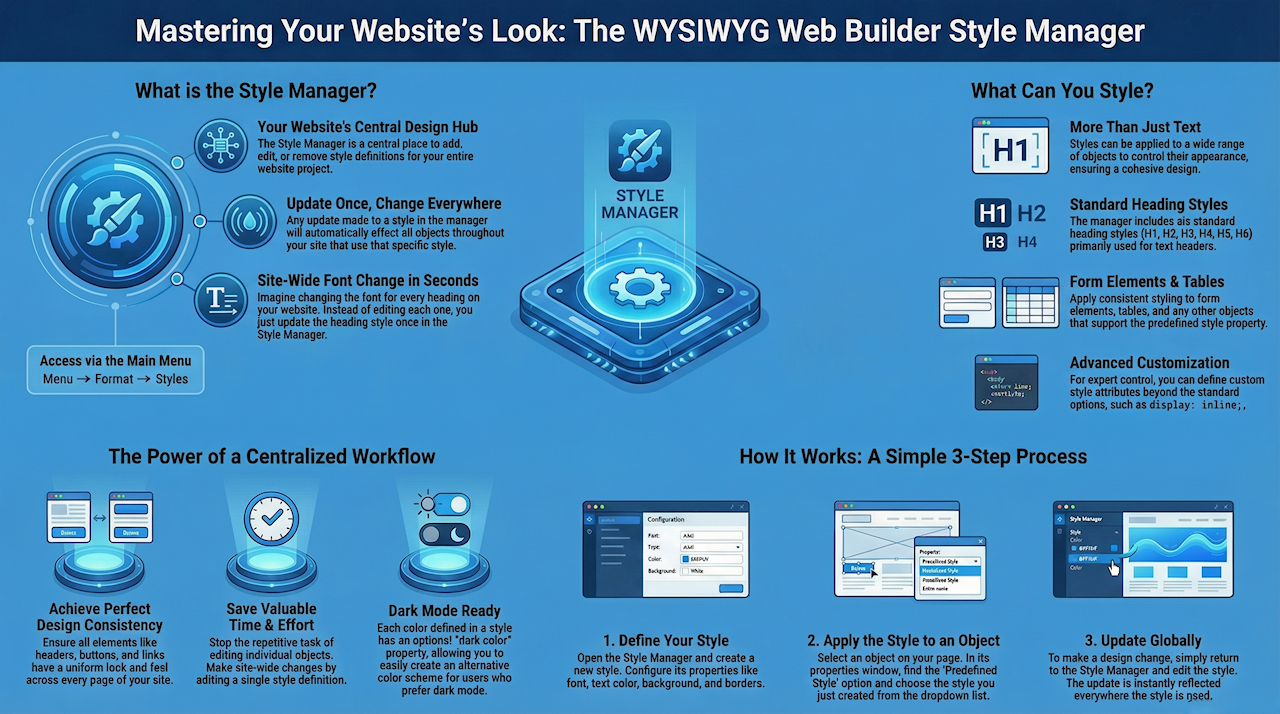
The Style Manager is a central place to add, edit or remove CSS style definitions for the entire website.
If you update a style in the Style Manager then all objects that use that style will automatically be updated.
There are 6 standard heading styles (h1, h2, h3, h4, h5, h6), which should be used for text headings only to optimize your website for SEO. Other styles can be used for objects like form elements and tables.

When you add a new style then all attributes of the style will be empty. This means that default the browser's default values will be used. To change the value on an attrribute simply click the property and modfiy the value.
Only the atrributes you give a value will be included in the CSS style definition. You do not have to specify values for all attributes.
Only the atrributes you give a value will be included in the CSS style definition. You do not have to specify values for all attributes.

It's also possible to add custom style attributes. You may have noticed that we did this for the header styles (CustomStyle is display: inline), to make sure it is displayed correct in all browsers.
Custom attributes will not be recognized by WYSIWYG Web Builder, but they will be applied in preview or the published page.
Import
This option makes it possible to import styles from an external style sheet (CSS).
Export
This option makes it possible to export styles to an external style sheet (CSS). This can be useful to export/import styles to another project.
Using styles with Text
To apply a style to the selected text, simply select one of the previously created styles from the style menu.

By default, the Style Manager includes 6 standard headings <h1> … <h6>, but you can also define your own heading styles:
• make a copy of one of the existing heading
• specify a valid class name. For example: my_heading1.
• Do not no spaces or other special characters. For example: "my heading <h1>" is not valid!
• make a copy of one of the existing heading
• specify a valid class name. For example: my_heading1.
• Do not no spaces or other special characters. For example: "my heading <h1>" is not valid!
Using styles with other objects
Most objects (like the Editbox, TextArea, Combobox, Buttons) do have a Class tab in their properties.
The predefined style will overwrite the object's standard style settings, so you can no longer change those.
The predefined style will overwrite the object's standard style settings, so you can no longer change those.

Notes:
- Not all style attributes apply to all objects! For example margins and padding are currently ignored by most Web Builder objects. These attributes where only added to fix browser incompatibility issues for heading styles.
· Header styles (h1, h2 ...) can only be applied to text.
- Not all style attributes apply to all objects! For example margins and padding are currently ignored by most Web Builder objects. These attributes where only added to fix browser incompatibility issues for heading styles.
· Header styles (h1, h2 ...) can only be applied to text.
Using line spacing in Styles
By default the Line Spacing option in Styles only affects the line spacing in the workspace. In previous versions of WWB this option forced the option 'Include <div> with position' for the text object. However this resulted in 'dirty' and non-responsive code. Since WB11 the option 'Include <div> with position' will not longer be forced. Now you will have to decide what output code you want to be generated.
Option 1
Enable 'Include <div> with position' in the text properties (to get the same result as in previous versions).
This will make the text object non-responsive and will result in more HTML (code bloat).
OR
Option 2
Add 'line-height: 1.5' (where 1.5 is the value of the line spacing) in the 'Custom styles' properties of the style. In that case 'line-spacing' will be used for the workspace and the line-height for the published text. The result will be much cleaner (and responsive) code.
Note that you may need to fine-tune this value based on the selected font family and size.

What is the different between a CSS "class" and "style"?
In WYSIWYG Web Builder, there are 2 different style types:
• Headings (h1, h2 ..), these are used for text only.
• Regular styles, which are used for all other objects.
In HTML, a regular style is referred to as a "class". Headings are tags selectors.
So, heading styles will generate the following code:
h1
{
font-family: arial;
font-size: 14px;
}
And regular styles will output:
.customstyle
{
font-family: arial;
font-size: 14px;
}