An Introduction to Blocks
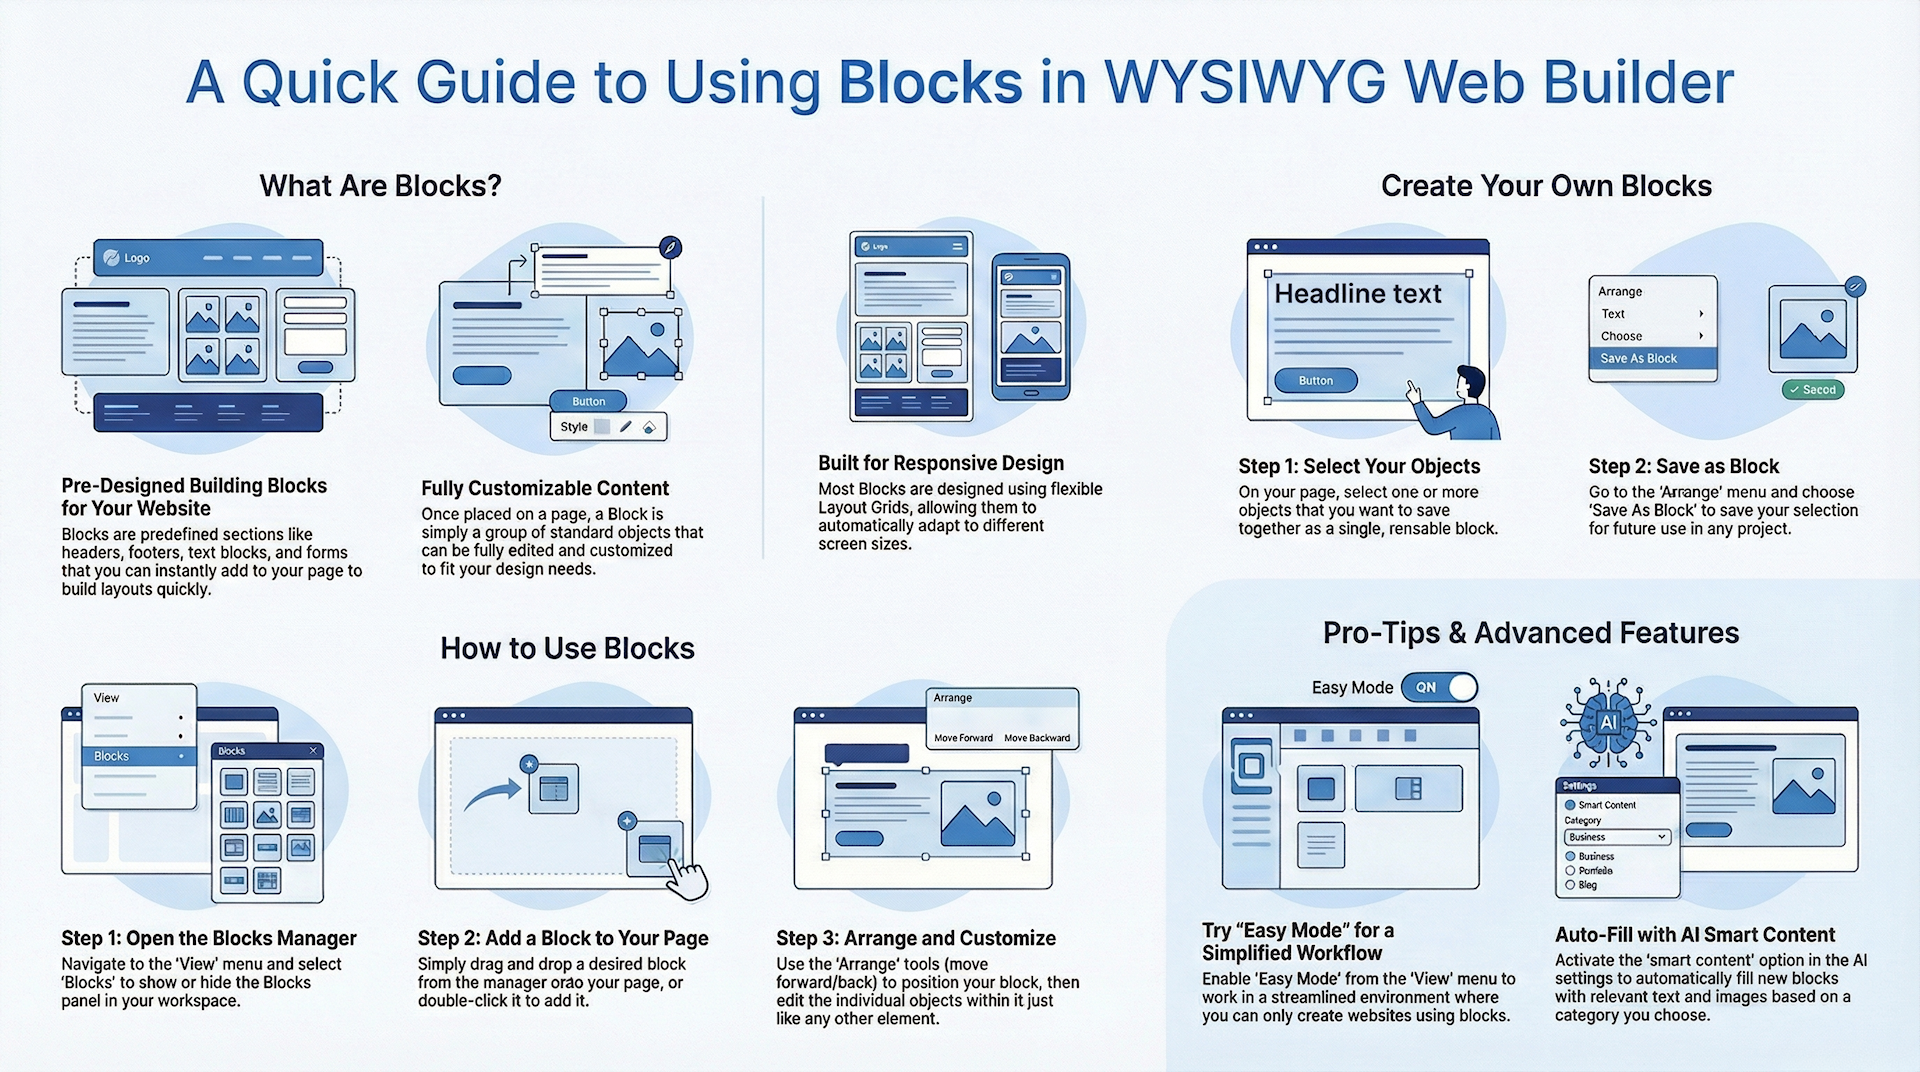
Blocks are ready-made sections that you can drag and drop onto your page, such as headers, footers, forms, feature sections, and content layouts. They help you quickly build the basic structure of a website without starting from a blank page.
After adding a Block, you can customize it just like any other part of your project. Blocks are made from standard WYSIWYG Web Builder objects, so you can edit the text, images, layout, colors, and behavior.
In this tutorial, you will learn how to:
- Open the Blocks Manager
- Add Blocks to a page
- Organize libraries and favorites
- Use Smart Content
- Create your own Blocks
- Install additional Block packs
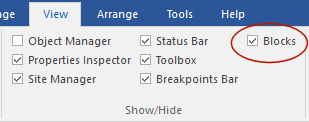
To show or hide the Blocks Manager go to Menu -> View -> Blocks.
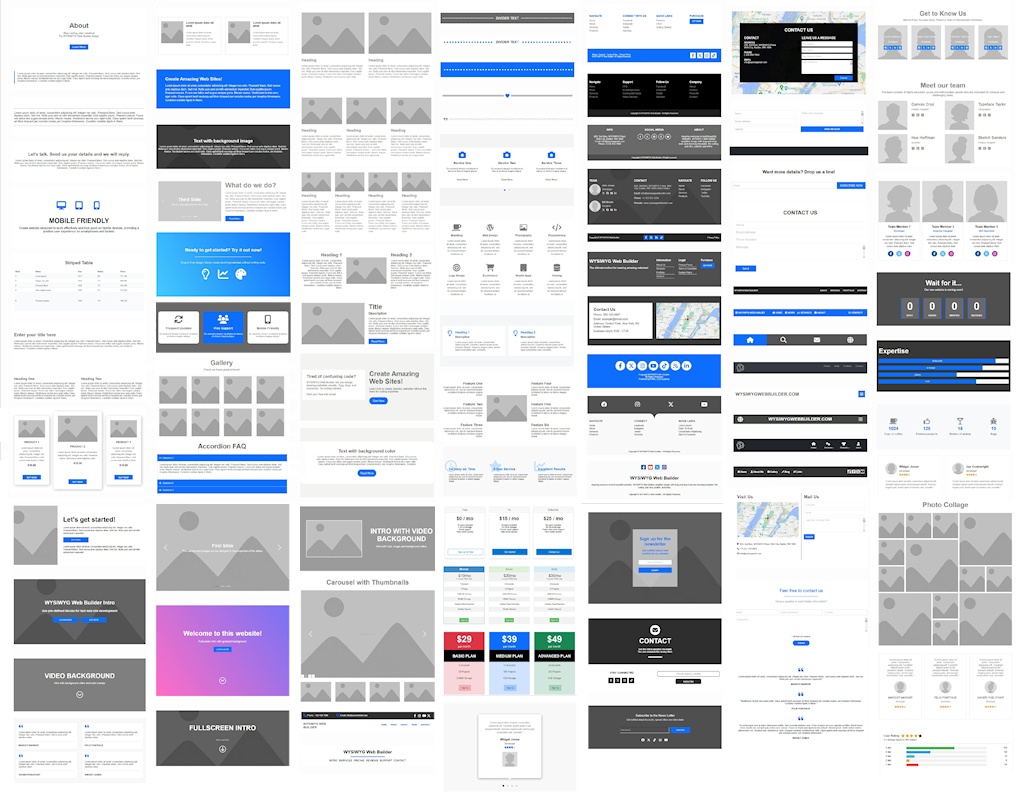
A preview of each Block will be displayed to give you an idea what it will look like on the page.

The Blocks Manager has several categories, including Content, Features, Headers, Footers, Forms, Specials etc.
Note:
Most Blocks are built with Layout Grids. This makes them flexible and responsive. When you add a Block, it is usually inserted as a new row in the page layout. You can then rearrange it using the Arrange tools.
If you are new to Layout Grids, we recommend reading An Introduction to the Layout Grid before continuing.
Most Blocks are built with Layout Grids. This makes them flexible and responsive. When you add a Block, it is usually inserted as a new row in the page layout. You can then rearrange it using the Arrange tools.
If you are new to Layout Grids, we recommend reading An Introduction to the Layout Grid before continuing.
Show or hide categories
If there is a category you do not use often, then you can simply hide it by clicking the category header. To unhide, click the header again.
Adding a Block to the page
To add a Block to the page, simply drag & drop it from the Blocks Manager to the workspace. It is also possible to double click the item to add it. Note that most Blocks use Layout Grids, so they will be inserted on the next free row on the page.
Block Libraries
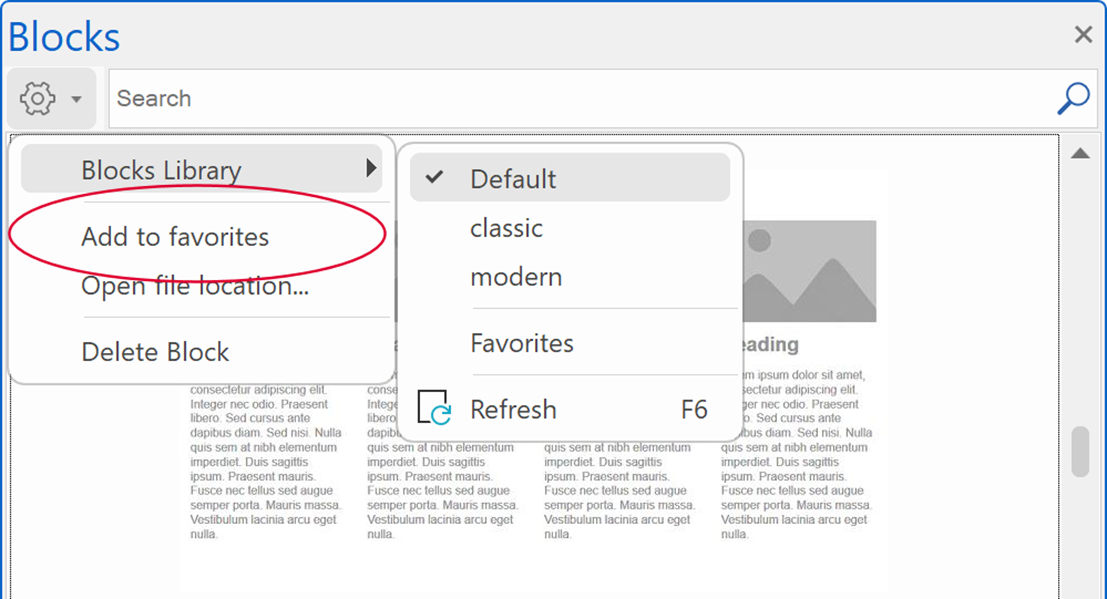
You can switch between different block libraries. Each block library can have its own set of blocks.
For example, you can have a dedicated library for dark blocks or ecommerce blocks.
Libraries are useful if you want to keep different types of Blocks separate. For example, you might use one library for business website sections, another for ecommerce layouts, and another for your own custom Blocks.
For example, you can have a dedicated library for dark blocks or ecommerce blocks.
Libraries are useful if you want to keep different types of Blocks separate. For example, you might use one library for business website sections, another for ecommerce layouts, and another for your own custom Blocks.

Favorites
Favorites is a dedicated library for storing your favorite Blocks.
Use Favorites to collect Blocks you use often, so you do not have to search through all categories each time.
Use Favorites to collect Blocks you use often, so you do not have to search through all categories each time.
Smart Content
Blocks can automatically insert 'smart content' (text and images) based on the selected category when a new block is added. To enable this feature, go to Options -> Artificial Intelligence.
Please see also the ‘Smart Content’ tutorial for more details.
Please see also the ‘Smart Content’ tutorial for more details.
Creating your own blocks
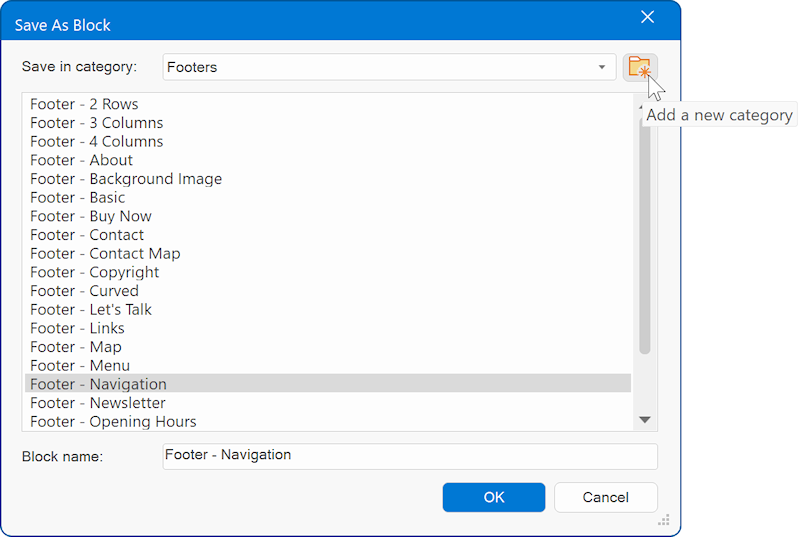
You can also create your own Blocks. To create a Block, select all the objects you want to be part of the block and then choose 'Save As Block' in the menu. You can even create your own categories!

Downloading and installing additional blocks
In the 'Free extras' section of the website you can download additional Block packs.
http://www.wysiwygwebbuilder.com/free_extras.html
The .wbl files in these packages must be unzipped in the blocks folder of the WYSIWYG Web Builder system folder. The quickest way to get to this folder is by right-clicking in the Blocks Manager and selecting 'Open file location' in the context menu.
Note that there are several sub folders for the categories!
http://www.wysiwygwebbuilder.com/free_extras.html
The .wbl files in these packages must be unzipped in the blocks folder of the WYSIWYG Web Builder system folder. The quickest way to get to this folder is by right-clicking in the Blocks Manager and selecting 'Open file location' in the context menu.
Note that there are several sub folders for the categories!
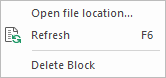
After you have added new Blocks you can use the 'Refresh' option in the context menu to update the list.
To remove a Block from the list use the 'Delete Block' command.
To remove a Block from the list use the 'Delete Block' command.